|
LASER CUTTING
We can cut a wide range of materials up to 1245 x 700mm on our lasers. Up to 16 different colours can be used for cutting and engraving processes, allowing for very complex designs to be cut and engraved. Laser cutting is the perfect process for one-offs or batch production with a very high turnaround speed and almost no set-up costs, unlike many other manufacturing methods. We're experts in setting up data in the most efficient manner to make sure you get maximum value from your laser time and we get your project completed as quickly as possible! |
LASER ENGRAVING
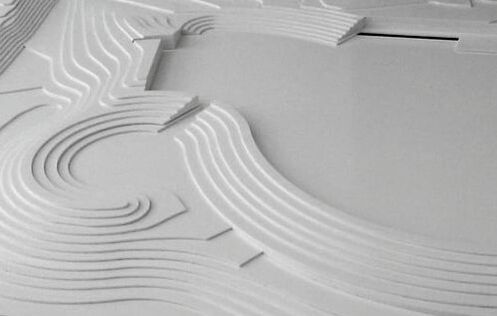
We can take an image and engrave it on a wide range of sheet materials or objects at up to 1000dpi. Images can be engraved in a variety of ways to build up subtle 3D effects, and we know the processes inside out so can advise you on the best methods to match your quality and budget requirements. We are experienced in high volume, mass production , product marking and cutting. |
WHAT CAN WE CUT?
|
WOOD
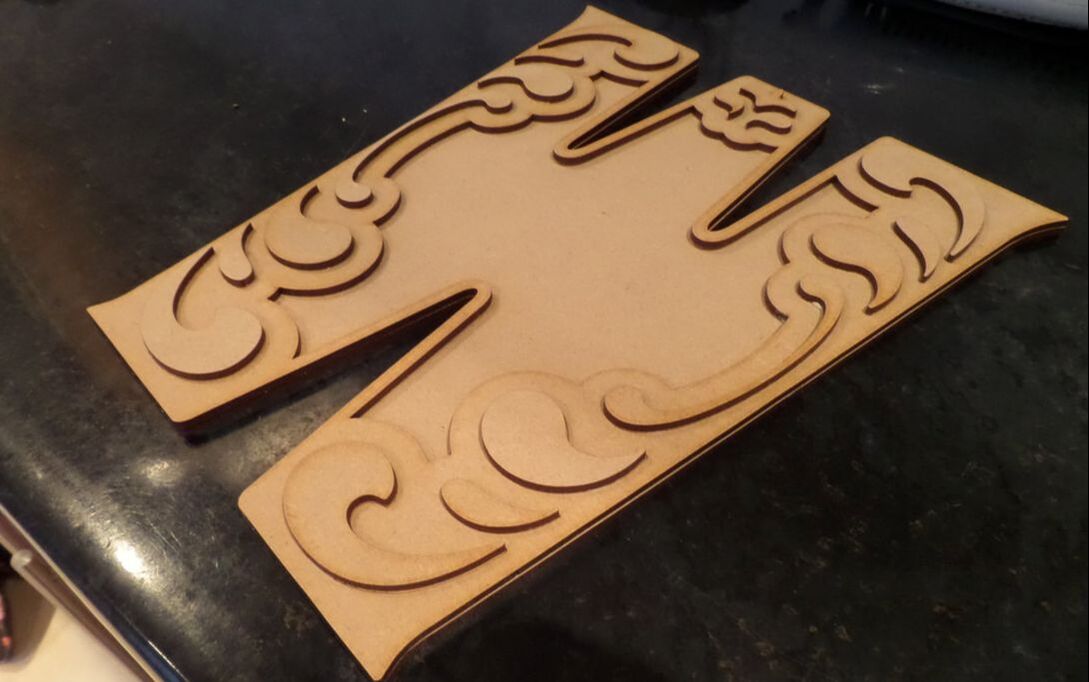
MDF cuts very well, and can be engraved to leave a textured finish. MDF ‘fogs’ when cut which can give a subtly shaded effect to objects. Regular MDF contains formaldehyde which inhibits the laser cutting, so we stock premium Medite MDF. Natural woods engrave very well, and give a high quality look to any application. Woods can be cut to give a scorched effect or painted and finished after processing. |
PAPER/CARD
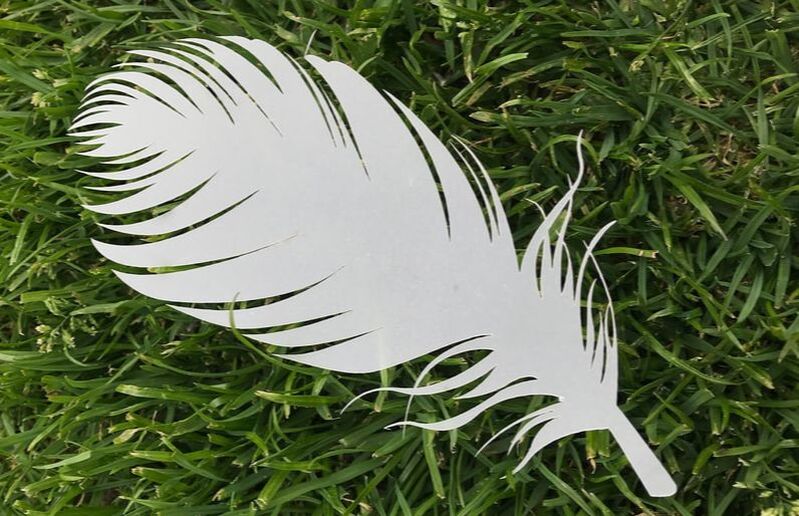
We use lasers that offer very fine control over the cutting and engraving process, allowing us to engrave delicate materials exactly as desired. Card can be cut to very intricate designs, lightly engraved or heavily engraved until almost transparent. Laser-cut business cards and invites are very popular. |
ACRYLIC
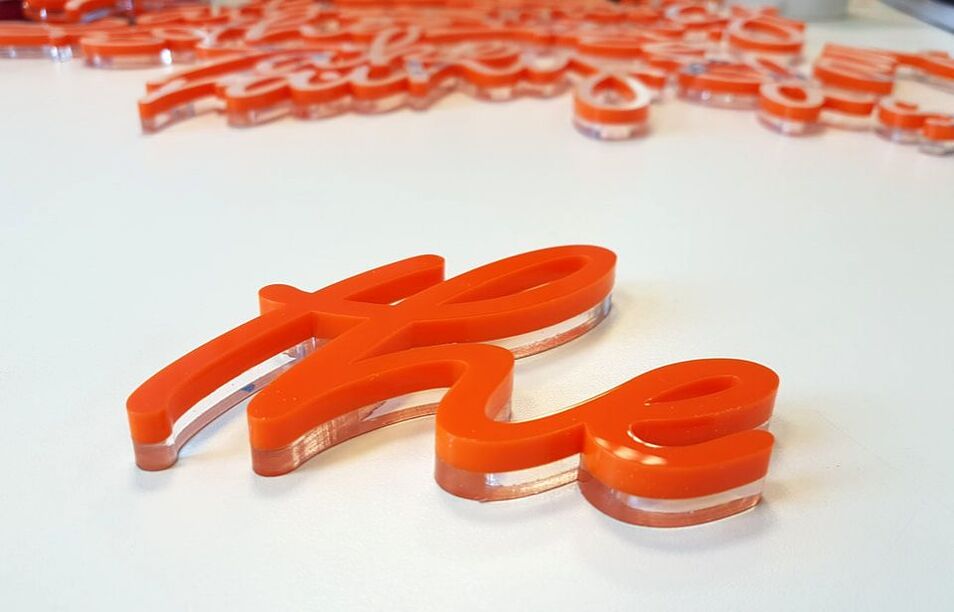
One of the most commonly used materials for lasercutting design, acrylic comes in a wide range of colours and finishes including tinted, frosted, mirrored, pastel, fluorescent. Acrylic takes engraving very well, and can be cut into very fine shapes with a finely polished edge. |
|
LAMINATES
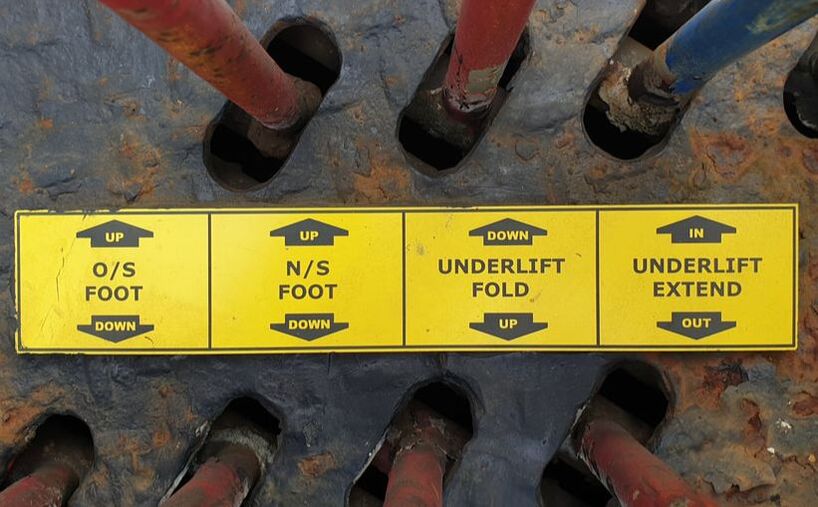
Laminates are great for signage, tags, labels, health and safety signage and control panels. It engraves really easily and has a crisp finish. It's available in a wide range of colours and finish combinations. |
OTHER PLASTICS
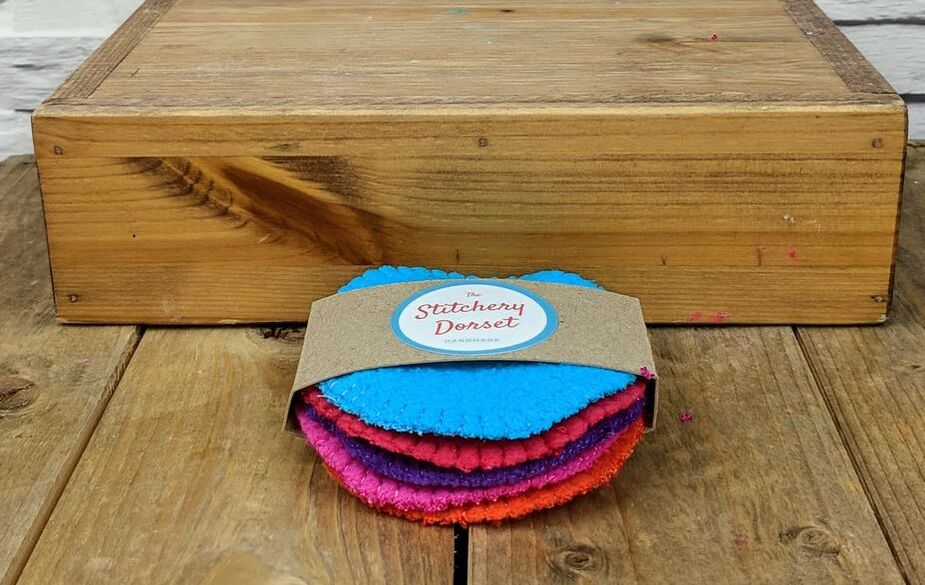
We can engrave and cut most plastics, although the quality of the finish will vary by material. Some plastics ‘melt back’ when cut which will influence how intricate the designs can be. |
FABRICS
Many fabrics can be engraved with extremely intricate designs for fashion and design applications. Leather accepts laser engraving very well, with many applications for high-class products. Note we will not cut any material containing PVC or Chrome tanned leather as they release toxic gases when cut. |
|
METAL
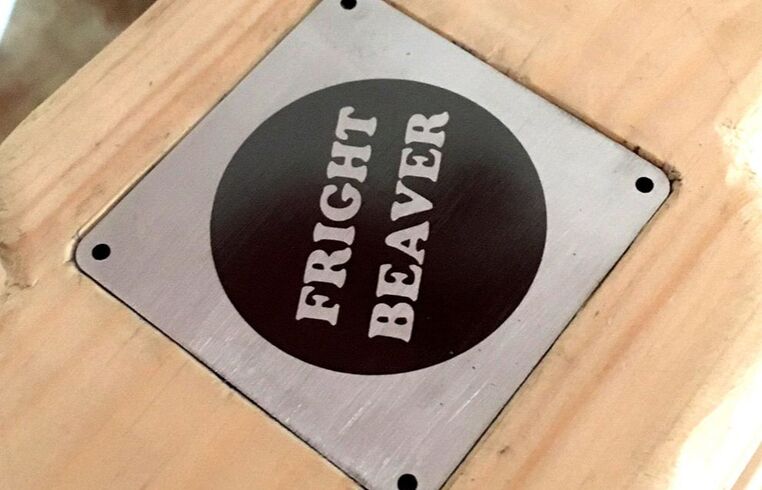
We can engrave regular, anodised or otherwise treated metals by removing the finish, leaving bare metal. Perfect for customising products! With our fiber laser we can engrave directly onto metals without the need for costly marking sprays. GLASS
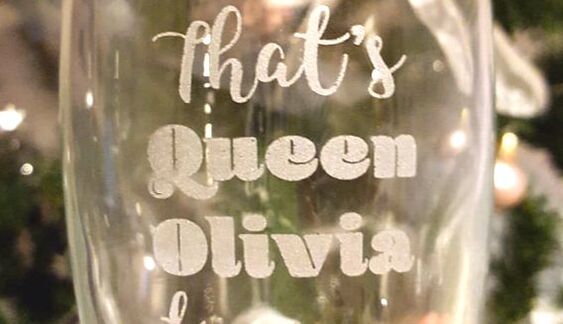
While we can't cut glass, we can engrave it, which is particularly good for personalised gifts, mirrors, picture frames and so on. Engraving the front can give a very subtle 'ghosted' look, while engraving the backing away leaves the glass translucent. |
RUBBER
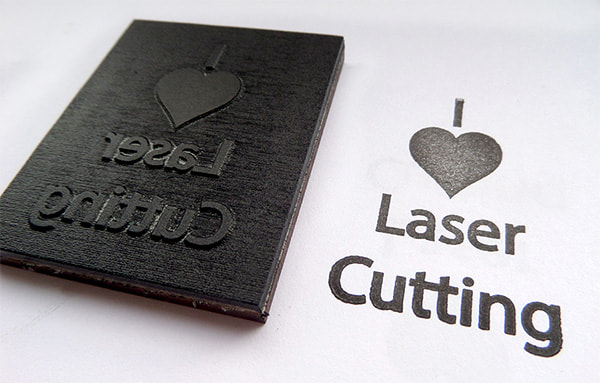
Lasers are a great way to make custom stamps quickly and easily, in almost any size and shape. Often used to add a unique touch to wedding stationery and invites, we can turn almost any artwork into a stamp using our eco-friendly and low-odour rubber PRODUCT MARKING
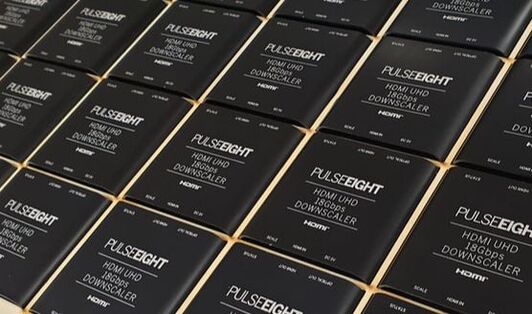
Laser engraving is a great alternative to screen or pad printing for marking, branding or personalizing products, with very little up-front costs, no minimum volume or expensive tooling that can’t adapt to design changes. |
FOAM
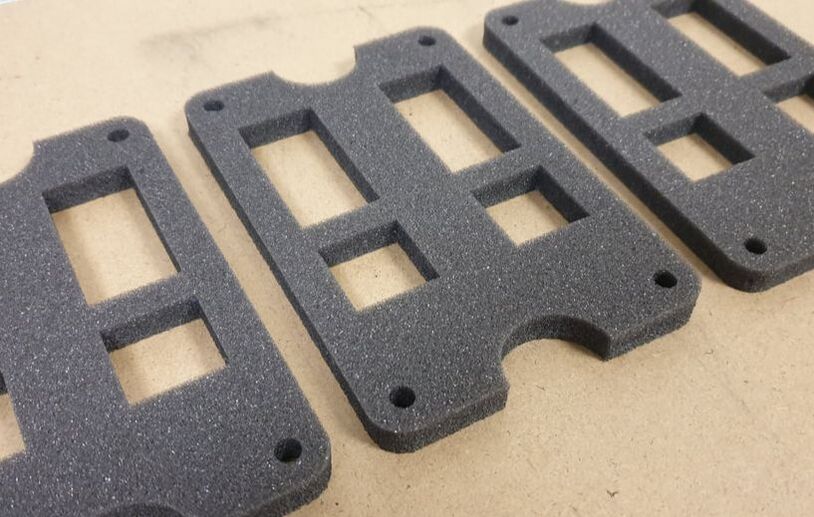
Foam is a very versatile material that cuts very well on the laser. Foam is perfect for product packaging, allowing for very intricate shapes to be cut with no tooling costs or deformation from die-cutting. ANYTHING ELSE
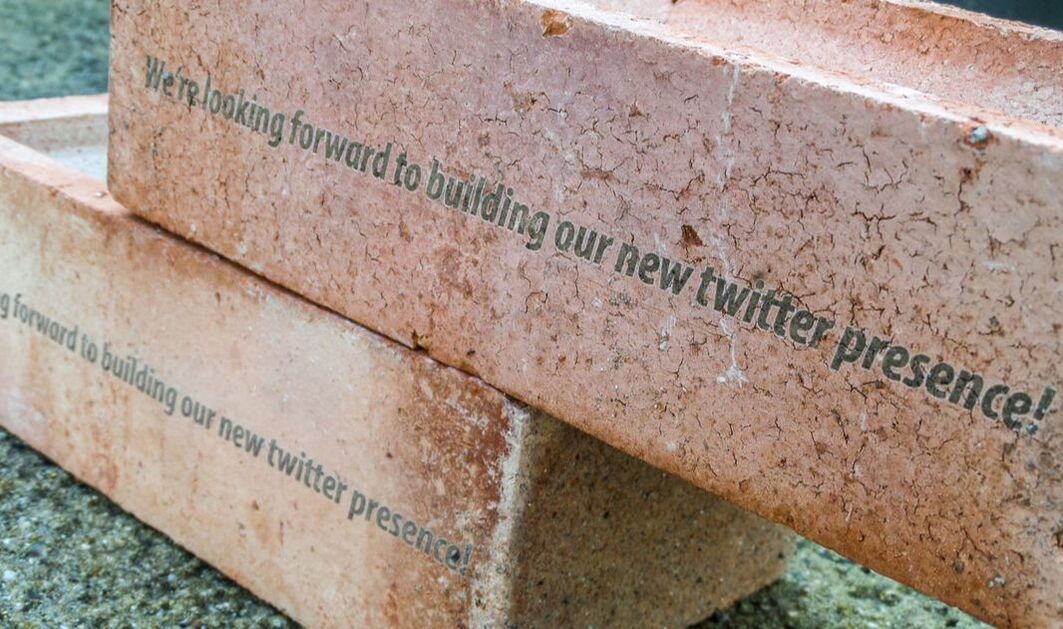
If you fancy engraving something else and want to know if it’s possible, send us a message! We’re always interested in trying new things. How about engraving an advert for a café on a piece of toast? |
FILES AND QUOTES
What do we need?
To provide an accurate quote we need the following:
- Files; this is the most important for providing accurate quotations! For vector cutting we require files prepared to our standard below, in a format that supports vector graphics. Common examples include .ai, .pdf, .svg and .dwg, most CAD and illustration software can export at least one of these. For engraving artwork can be either vector or raster (pixels), so .jpg, .png, .tiff, etc. Engraving artwork should be as high resolution as possible, at least 300dpi ideally, but we can advise you accordingly. Raster artwork may need adjusting for certain results, which we can do for a small fee.
- Dimensions; if your artwork is not already scaled to the appropriate size when you send it, tell us what size it needs to be so we can adjust the artwork accordingly. Note that the .svg file format doesn't natively support scale, so when we open them in Adobe Illustrator they will be scaled to the size of the last job we ran. Add dimension rulers to the files if need be.
- Materials; what materials would you like to use and how thick are they? Note that thicker materials require more power to cut through, and will take longer. Note also that speed is not always dependent on raw power, delicate materials or intricate artwork may require lower power and speed settings to get the best result!
- Quantity; how many items do you need? If you have artwork for a single piece but need multiples, we can set up batch production artwork for you for a fee, or advise on how best to set it up yourself.
- Deadlines; very important this one! Typically when quoting we will work to the assumption that your job will be added to the end of the queue, if your job is urgent we will do everything we can to meet your deadline but this may incur extra costs.
SETTING UP FILES
For a simple guide on setting up files for laser cutting and engraving, head over to our set up page here.
For cutting
When preparing files for cutting, it is essential that your graphics are vector format. Unlike pixel-based artwork, vectors are curves and areas defined by a mathematical equation; these tell the laser head where to move. Common programs for creating vector artwork include Adobe Illustrator (our preferred format), Corel Draw, Inkscape, AutoCAD and more.
The document colour mode must be set to RGB. The laser reads a series of RGB colour codes when cutting, any paths that do not have the proper colour codes will be either automatically converted to engrave areas or not read at all. Which leads on to...
Set any paths that are to be etched into the surface to 255,0,0 RGB RED. These paths will be marked using settings that will lightly score into the material without cutting all the way through. If you have a preferred depth or width for these paths include it in your file or email, but be aware these effects are achieved by modifying power, speed and offset settings so cannot be guaranteed 100% accurate.
Set any paths that are to be cut right through to 0,0,255 RGB BLUE or 0,255,255 CYAN. These paths will be cut right through your chosen material using settings we will determine based on the details of your job. Blue lines are always cut before cyan, so we suggest using these colours where you have paths within paths. Imagine a donut with a hole; the hole will be blue while the outside of the donut will be cyan. This is important when using materials that are prone to warping or deforming during cutting, and ensures that inner shapes are in the correct position.
We can use up to 16 RGB colour codes which can each have an engrave or cut setting applied. If your job is particularly complex (eg shapes within shapes within shapes) we may advise you on using extra colour codes for the best results, or we can apply them ourselves for a small data fee.
Any paths that are to be cut should be given a lineweight, or stroke, of 0.01mm. Paths with a stroke heavier than this will be automatically converted to engraved areas when sent to the laser. Note that cut lines can also be used for scoring the surface by using settings that won't cut all the way through the material, but will be very thin lines.
For engraving
We can achieve a range of effects with engraving, from a simple single depth engrave to a 3D relief effect. Engraving graphics can be either vector paths or pixel images, offering a lot of flexibility! Engraving is managed using black and white, or greyscale graphics, where the colour determines the power of the laser.
For a simple engrave, all graphics to be engraved should be 0,0,0 RGB BLACK for vector graphics, or black and white pixel images. With these settings, the laser will engrave any black areas using 100% power. Engraving depth can be varied by modifying the power and speed, although deeper engraves can take a lot longer. Any pixels or areas that are not 100% black will be ignored by the laser.
For a halftone engrave, all graphics should be greyscale. Graphics will be engraved with an effect similar to newsprint, using a series of dots to fill in areas of engraving. The darker the colour, the more solid the engraving will appear.
For a relief engrave, all graphics should be greyscale. Graphics will be a solid engrave, where the laser modifies the power according to the colour; black will be engraved using 100% power, white will be 0% power and greys will vary the power according to how dark the graphics are. Areas of dark graphics/high power will be engraved with more depth. Note that this effect works best on softer materials.

